Archive | Dessert RSS feed for this section

New year, new food

13 Jan

Happy 2015 Glamourites!!

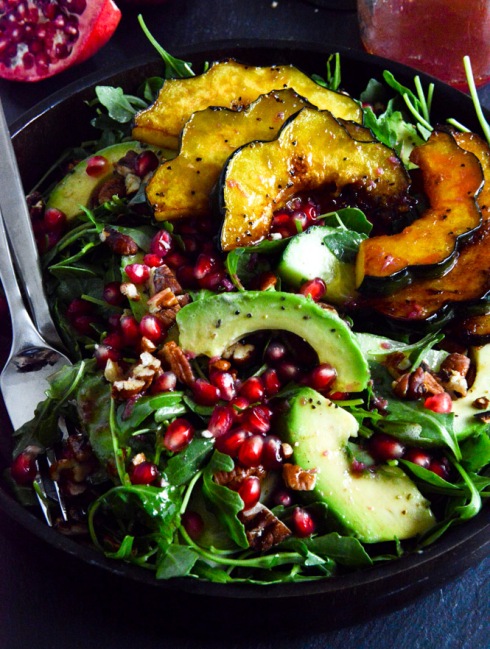
I can’t believe how fast the last year flew by, it really shows you that you must treasure each moment because one day you will look back on it and miss it. One of my new years resolutions is to have a more balanced lifestyle, I am not saying I want to eat healthy or only eat greens because hey, we all know that that is impossible. My plan is to keep everything in perspective while trying my best and rewarding myself from time to time with maybe a burger or pizza. We all have those cravings and if we don’t indulge in them now and then it can have a worse backlash effect. Having said all that here is an amazing salad recipe I am definitely going to be trying this week along with a “healthy” tasty dessert!

xx Glamour Planner

newyearnewfood

Indigents

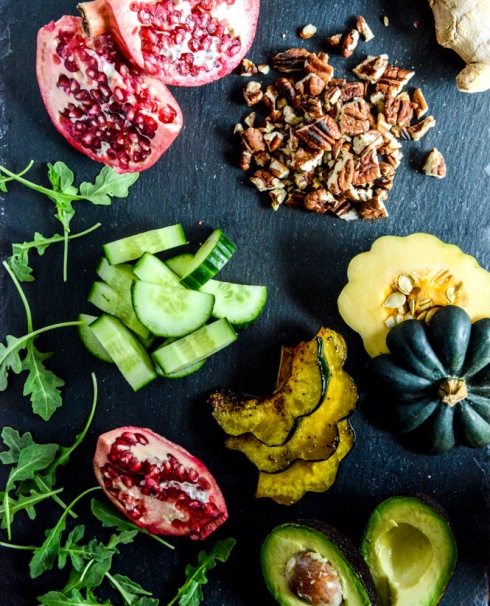
1/2 cup whole pecans, chopped
6 cups baby arugula
1 avocado, sliced
1 pomegranate, arils removed
1 seedless cucumber, sliced                                                                                                                                                 1 acorn squash, sliced in 1/2-inch thick rounds and seeds removed

Dressing

1/3 cup pomegranate juice
1/4 cup apple cider vinegar
1/2 teaspoon freshly grated ginger
1 garlic clove, freshly grated
1/4 teaspoon salt
1/4 teaspoon pepper
1/3 cup olive oil

Curtsey to How Sweet It Is for the salad recipe!

newyearnewfood2

Now for a healthy DESSERT….

Cinnamon Apple Rings!

newyearnewfood3

Ingredients:
for the apple rings
4 large apples (I used gala)
1 cup flour
¼ teaspoon baking powder
2 tablespoons sugar
¼ teaspoon salt
⅛ teaspoon cinnamon
1 large egg, beaten
1 cup buttermilk
vegetable oil for frying
for the cinnamon sugar topping
⅓ cup sugar
2 teaspoons cinnamon

Thanks to Eat Views for the recipe!

Good Old Homemade

1 Oct

Hello Glamourites!

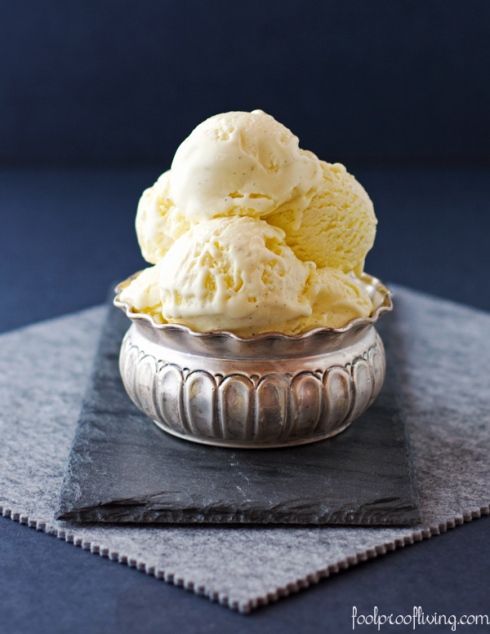
There are so many baking recipes on my wish list to make but I never seen to have the time or enough people who will eat it all! One thing I always find intriguing was trying to make my own homemade ice cream. Ice cream is something everyone likes and there are so many different and unique flavours you can create. I suppose it makes sense to start off with the basic good old vanilla ice cream, which don’t get me wrong I still love! Have any of you tried making ice cream and what neat flavours? xx Glamour Planner                                                   Thanks for the recipe to Fool Proof Living!

Vanilla-Bean-Ice-cream-1656-FL

Homemade Vanilla Ice Cream

Ingredients

  • 1 vanilla bean, split in half lengthwise
  • 1 ¾ cups heavy cream
  • 1 ¼ cups whole milk
  • ½ cup granulated sugar – divided
  • ⅓ cup light corn syrup
  • ¼ teaspoon salt
  • 6 large egg yolks

Instructions

  1. Place the heavy cream, vanilla bean, seeds, milk, corn syrup and ¼ cup of sugar in a saucepan. Heat it over medium-high heat, stirring occasionally, until it registers 175 °F, 9-10 minutes. Remove it from the heat.
  2. Whisk egg yolks and ¼ cup of sugar in bowl until smooth.
  3. Slowly whisk 1 cup of the hot milk mixture in to the egg yolk mixture. (If you do it fast you may end up with cooked eggs.)
  4. Return mixture in to the pan and heat it, stirring constantly, until it thickens and reaches to 180 °F. This takes less than 10 minutes.
  5. Pour the hot mixture into a glass bowl and let it cool outside, until it is no longer steaming.
  6. Place 1 cup of the mixture into a small bowl.
  7. Cover both bowls with stretch film.
  8. Place the reserved 1-cup mixture in freezer and the other bowl in refrigerator. Let it cool for at least for 4 hours or overnight.
  9. Remove them from freezer and refrigerator. Scrape the frozen custard mixture into the custard in the big bowl. Stir it until it completely dissolves.
  10. Strain this custard through a fine-mash strainer. Transfer in to the bowl of the ice cream maker.
  11. Churn it until it registers 21 °F, for 20-25 minutes.
  12. Transfer it to an airtight container. Press firmly to remove any air pockets. Place it in the freezer and freeze it until it is firm, at least 4 hours.
  13. Take it out 5 – 10 minutes before serving to make it easily “scoopable”

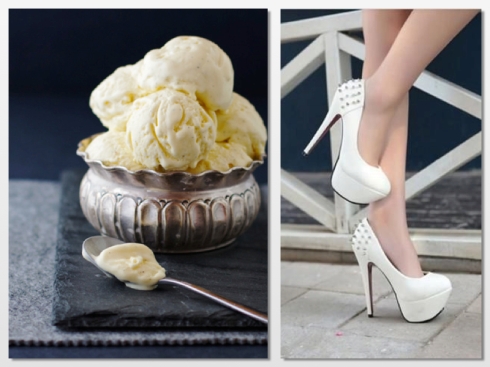
DELICIOUS HEELS

DeliciousHeelsIceCream

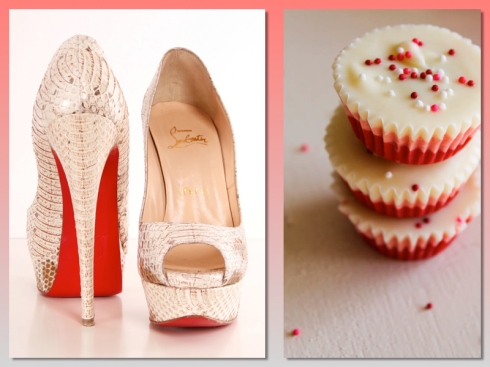
Louboutin Nutella Cups

19 Sep

Hi my glamourites!

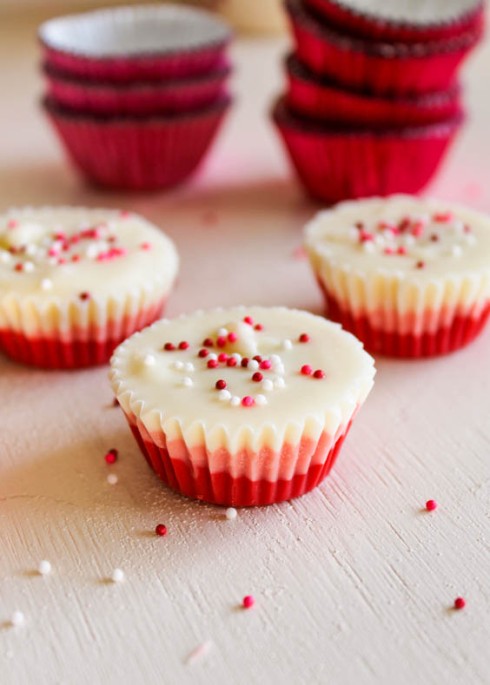
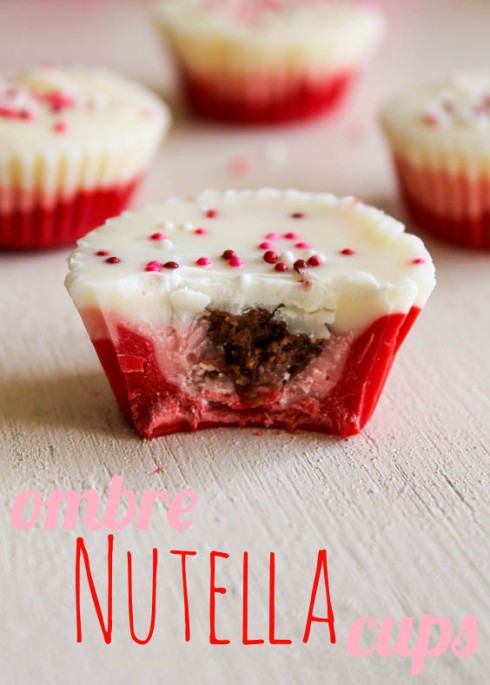
You know when you just have one of those cravings, the one where you just can’t shake, no matter what else you eat or even if you have a little bit of it, you still want more. Well that has been me with Nutella this week! Almost every evening I have been reaching for that jar and finding anything I can to dip into it or spread it onto. I stumbled upon this recipe through foodgawker (my fave food site ever) from a blog called The Baking Robot which I thought was very cute site! This recipe looks almost too pretty and colourful to eat but also that it would be absolutely delicious! Be perfect for Valentine’s Day dessert, but that’s a while away. Check it out xx Glamour Planner

ombrenutellacups001

ombrenutellacups005Ombre Nutella Cups

1/2 cup Nutella
3/4 cup powdered sugar
2 tsp vanilla extract
1-1/2 tbsp milk
red candy melts
pink candy melts
white candy melts

Directions 

1. Line a mini muffin tin with mini cupcake liners. Set aside.

2. In a medium-sized bowl, mix together Nutella and powdered sugar. Stir in vanilla extract. Add milk slowly until you get a consistency that you can work with your fingers and roll into balls. (At this point, you can add more powdered sugar or milk to get your desired consistency. I made a more wet mixture for a creamy filling but it was more difficult to work with.)

3. In three separate bowls, microwave all three candy melts individually in thirty-second intervals, stirring in between, until completely smooth. (I melted about five handfuls of each color.) Spoon the melted red candy first into the bottom of the cupcake liner, shaking the muffin tin as needed to distribute and spread the candy evenly. Repeat with the pink candy melts, spooning and spreading evenly on top of the red.

4. Take about 3/4 – 1 teaspoon of the Nutella filling and drop into the center of the cups. Cover with the melted white candy until flush with the tops of the liners. Decorate with sprinkles and refrigerate until completely chilled and hardened.

http://thebakingrobot.com/2013/02/10/ombre-nutella-cups/

~DELICIOUS HEELS

DeliciousHeelsNutellaYour Christian Loubouin’s with some tasty treats.

Sweets & Studs

18 Aug

Good Morning Glamourites,

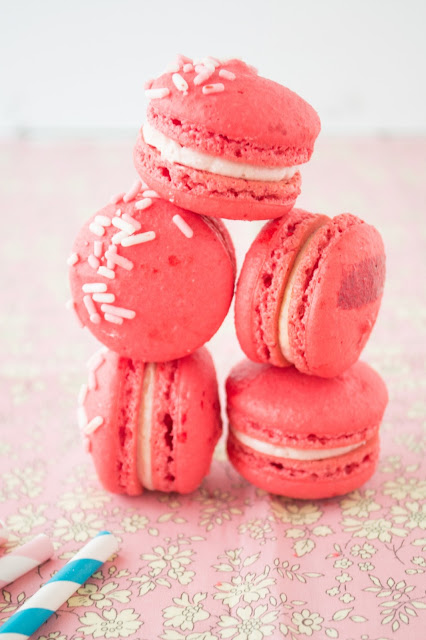
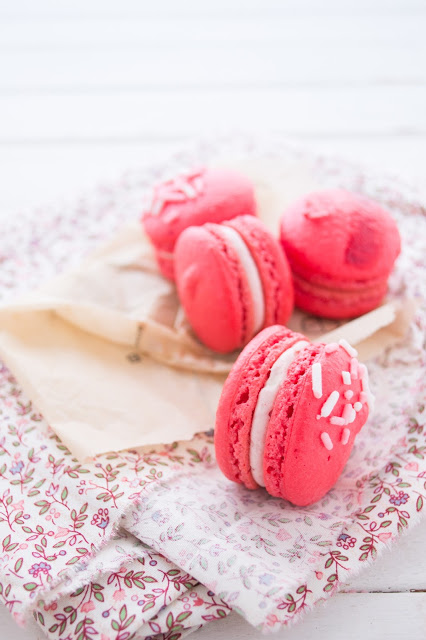
Been a busy last few days as summer is starting to wind down and my friends are starting to leave again for the next school year. Still can’t get my head around the fact it’s already the middle of August….okay let’s not think about that now! Macarons, the little couple bites of dessert you sometimes need to satisfy your sweet tooth. I have yet to try and make any type of macarons myself but it is my mission before the summer is over to give it a shot. The recipe credit goes to La Gallette blog where they have many tasty looking recipes. Let me know if you have given the macaron attempt a whirl xx Glamour Planner

pinkmacarons

Perfect size to just pop in my mouth for a treat!
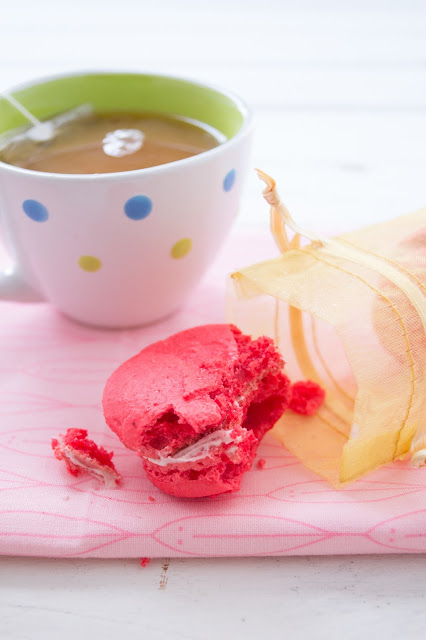
pinkmacarons2
pinkmacarons4

Raspberry macarons

Ingredients

  • 250g almond meal
  • 250g icing sugar
  • 3 (90g) egg whites, at room temperature
  • 3 (90g) egg whites, extra (at room temperature)*
  • 65mL distilled water
  • 250g caster sugar
  • 1/2 tsp freeze-dried raspberry powder or food colouring

To make the buttercream:

  • 3 egg egg whites
  • 180g caster sugar
  • 280g unsalted butter, softened and cubed
  • 2 tbsp raspberry puree

*the marked egg whites should be aged. To do this, leave whole eggs (un-cracked) at room temperature for 1 week prior to separation.

Method

  1. Place the almond meal and icing sugar in a large food processor until fine. Sift the contents into a large, stainless steel bowl.
  2. in a small bowl place the first 3 (90g) of egg whites with the freeze-dried raspberry powder/ food colouring. Whisk gently until combined.
  3. Add the egg mixture to the almond meal mixture but DO NOT stir yet.
  4. Meanwhile, place the other 3 (90g) of egg whites in the bowl of a stand mixer fitted with a whisk attachment. DO NOT whisk yet.
  5. Place the caster sugar and distilled water in a medium saucepan over medium heat and boil until it reached 110C on the thermometer.
  6. When the syrup reaches 110C, start whisking the egg whites on medium speed until they form stiff peaks.
  7. Continue cooking the syrup until it reads 118C.
  8. Pour the syrup into the egg whites (in a thin stream) while still whisking the eggs over high speed.
  9. Beat the egg whites/syrup mixture until it reads 50C.
  10. Fold the meringue into the almond meal mixture. To test if done, drop a teaspoonful onto a small plate, the ribbon left should dis-appear within 30 seconds.
  11. Pipe the mixture amongst 5 trays lined with baking paper.
  12. Leave at room temperature until a thin skin forms on the tops of the macarons. To test, touch the macaron, the mixture should not stick onto your finger.
  13. Bake in a pre-heated oven at 180C for 20-25 minutes. Cool.

To make the buttercream:

  1. Place the egg whites and sugar over a pot of simmering water, whisking constantly until it is hot to the touch.
  2. Remove from the pot and whisk, with an electric mixer until it forms stiff peaks.
  3. Add in the butter, 1 tbsp at a time, whisking in between each addition.
  4. Fold in the puree.

To assemble, pipe 1 tsp of buttercream onto a macaron and top with another.
Store in a refrigerator (in a air-tight container) for up to 1 month.

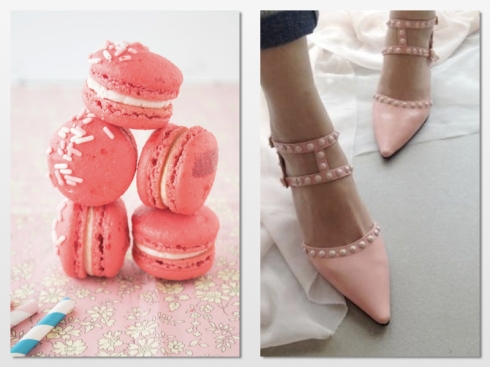
~Delicious HeelsDeliciousHeelsPaleSalmon

Crumble Delight

18 Jul

Hello Glamourites,

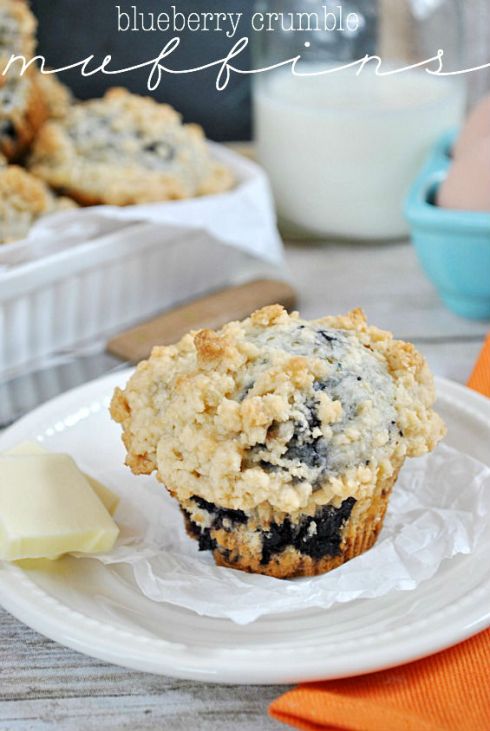
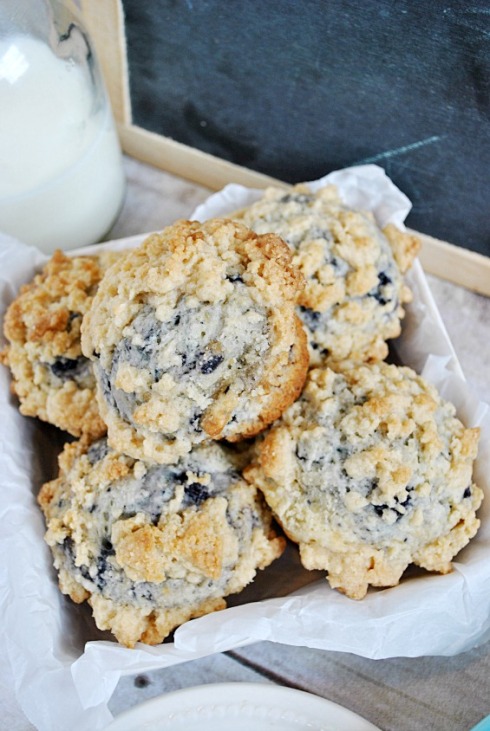
Well I enjoyed putting together my first “Delicious Heels” edition the other day so I wanted to give it another try! I made this recipe yesterday morning for breakfast and it was most definitely delicious! I would recommend you all give it a go whether just for yourself or if you’re planning a brunch with the ladies. It was very straightforward, fairly healthy and the perfect little breakfast item. Let me know what your favourite breakfast recipe is.

xx Glamour Planner

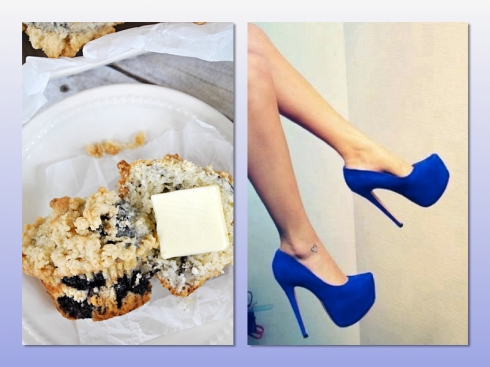
DELICIOUS HEELS~ Blueberry Crumble Muffin with Stiletto Blue Heels

DeliciousHeelsBlueberry2

Blueberry Crumble Muffins

Ingredients

  • 3/4 cup milk
  • 1/4 cup vegetable oil
  • 1 large egg
  • 2 cups all-purpose flour
  • 1/2 cup sugar
  • 2 teaspoons baking powder
  • 1/2 teaspoon salt
  • 1 cup canned blueberries (I used fresh berries)
For the crumble topping:
  • 3/4 cup all purpose flour
  • 1/2 cup (1 stick) butter, cut into cubes
  • 3 tablespoons brown sugar
  • 2 teaspoons cinnamon (I added this in for my own taste!)
Instructions
  1. Preheat the oven to 400 degrees F. Prepare a muffin tin by lining the cups with paper muffin/cupcake cups and/or lightly spraying with a non-stick cooking spray (I do both).
  2. In a large bowl, beat the milk, oil, and egg until well mixed.
  3. In a separate bowl, mix together the flour, sugar, baking powder, and salt. Add the dry ingredients to the wet ingredients. Mix until a batter just forms (it will be lumpy). Gently fold in the blueberries using a large rubber spatula.
  4. Divide the batter even among the 12 muffin cups (a scant 1/4 cup of batter in each).
  5. Prepare the crumble: use a fork, pasty cutter, or your hands to “smush” together the flour, butter, brown sugar and cinnamon into a crumbly mixture.
  6. Sprinkle the crumble over the batter in each muffin cup.
  7. Bake for 20-25 minutes until a toothpick comes out clean.
  8. Let cool for 5-10 minutes before unwrapping.
  9. ENJOY

blueberrycrumble

Mmmm….these would also be a great picnic snack to pack for a sunny afternoon trip too!
bluberrycrumble3

Summer Yummy

5 Jul

Hello all Glamourites,

It’s FOOD FRIDAY! So naturally what is better than Summer and refreshing foods to go with it?! These three recipes are perfect for anytime in the summer for a BBQ, an afternoon at the beach or for picnic treats. Hope everyone is having a fabulous start to their weekend and will find some time to try out these summer inspired foods!

xx Glamour Planner

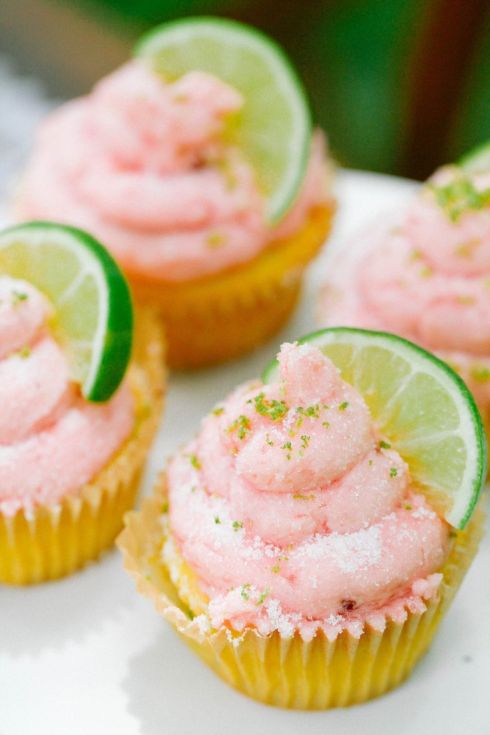
strawberry-margarita-cupcakes$!400xHow amazing do these look! Strawberry Margarita Cupcakes, a delicious combo of both a  drink and dessert! Plus the pretty pink colour is adorable for afternoon drinks or a picnic with the girls. Check out the full recipe here: http://www.stylemepretty.com/living/2013/06/21/strawberry-margarita-cupcakes/

Strawberry Margarita Cupcakes
PREP TIME
30 Minute/s
COOK TIME
2 Hour/s
TOTAL TIME
2 Hour/s 30 Minute/s

Ingredients

  • CUPCAKES
  • 1 box white cake mix
  • 1 cup water
  • 1/3 cup lime juice
  • 1/3 cup oil
  • Lime zest of one lime
  • 2-3tbs orange liqueur
  • 3 eggs
  • FROSTING
  • 4 egg whites (at room temperature)
  • 1 cup sugar
  • 3 sticks butter (at room temperature)
  • 1/3 cup strawberry preserves
  • Juice of one lime
  • 2-3 Tbsp. Tequila
  • Pink food coloring
  • Sliced lime & zest for garnish

Instructions

  1. For your cupcakes, preheat the oven to 350°F.
  2. Mix all ingredients in a large mixing bowl for 2 minutes until thoroughly blended. Place cupcake liners into cupcake pan and fill each cup ¾ full with cake mixture. Bake for 18 mins. Cool completely on a wire rack.
  3. For your frosting, mix the egg whites and sugar in a standing mixer on high for 7-15 minutes, until stiff peaks form.
  4. Turn the mixer to a low speed and add in the butter, strawberry preserves, lime juice, tequila, and food coloring. This will turn the frosting somewhat soupy and separated, but it will come back together after mixing again.
  5. Turn the mixer back up to high and mix for another 3-8 minutes, until icing is fluffy and somewhat stiff. If you’re still having trouble, try putting it in the fridge for 10 mins and then mixing again.
  6. Frost the cupcakes with a large round tip and sprinkle with granulated sugar. Garnish with a slice of lime and a sprinkle of zest. For a little extra kick, you can sprinkle on some sea salt.StrawberryMargaritaCupcake
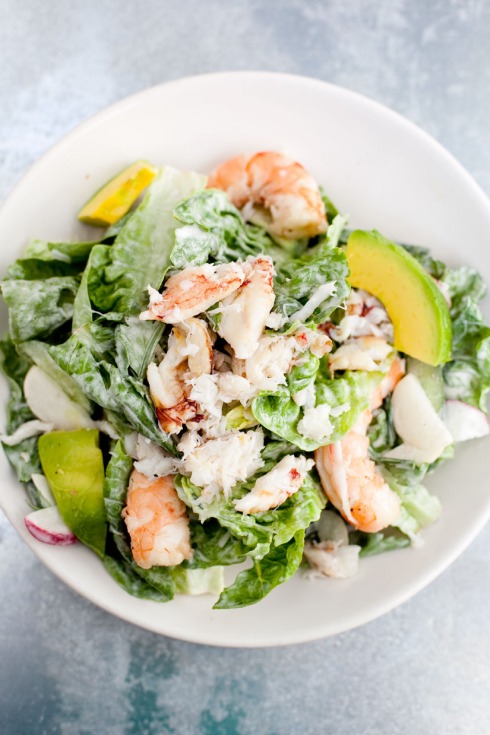
Lobster Avocado Salad

This salad just looks like summer, the fresh colours of the lobster and avocado make it almost too good to eat!

Lemon Vinaigrette Dressing

  • ½ lemon (juice and zest if you like)
  • Salt
  • 1 Tablespoon Vinegar
  • 5 Tablespoons Olive Oil

Salad

  • Lettuce
  • Avocado
  • Pre-cooked Lobster
  • Red onion
  • Parmesan Cheese lobstersalad
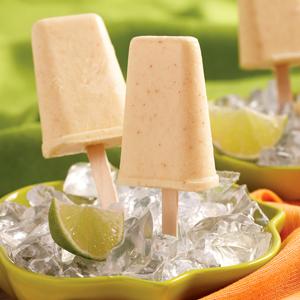
Pina Colada Popsicles

These homemade popsicles are just what you need on a hot day under the sun to cool down and enjoy a tasty treat….also it’s health friendly!

Blend and freeze the following ingredients (don’t forget the sticks!): ~Makes 6 servings~

  • 1 can Pineapple chunks, in juice
  • 1 Banana
  • 1 can Coconut milk
  • 1/2 tsp Vanilla extract

Calories: 117 per pop

 PinaColadaPopsicle

Dessert from heaven

12 Jun

Hi Glamourites!

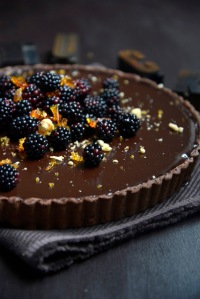
I found this recipe today which I am just dying to share with someone, it looks UNBELIEVABLE! This dessert may take a little bit of time to prepare and make but it’s a mouthwatering dish that will shock your guests! Give it a try when you have a few extra minutes this week…let me know how it turns out.

xx Stay Glam

Dark Chocolate Tart with Blackberries and Hazelnut Praline

Chocolate Filling:

700mls cream
700g dark chocolate, chopped

Pastry:

2 cups flour
1 Tbsp dark cocoa powder
pinch of salt
1/4 cup caster sugar
150g cold butter, chopped into cubes
2-3 Tbsp iced water

Hazelnut Praline:

11/2 cups hazelnuts
200g sugar
3 tablespoons water
To serve:
2 cups fresh blackberries
200ml cream, softly whipped

Chocolate Filling:

Heat cream in a microwave or pot until almost boiling. Add chocolate and whisk until smooth. (It may need a tiny bit of extra gentle heating to melt fully). Cool for 15 minutes, then pour into pastry shell.

Pastry:

Whizz flour, cocoa, salt and sugar in a food processor. Drop in butter and pulse until mixture resembles fine breadcrumbs. Slowly add iced water and pulse until mixture forms big clumps. Tip onto the bench and squish together. Wrap in plastic wrap and refrigerate for half an hour. Preheat oven to 180˚C (350˚F).  Roll pastry out between two sheets of baking paper and line the base and sides of a 26cm tart tin. Pop in the freezer for 15 minutes. Cut out a circle of baking paper slightly bigger than the tart tin, and put in pastry case. Fill with baking beans or rice and cook for 12 minutes, remove baking paper and baking beans and cook a further 10 minutes. Pour in filling, and allow to set a little (for about 15 minutes) then refrigerate for at least six hours before serving. Top with blackberries and crumbled praline and serve with whipped cream and extra berries – and good quality vanilla bean ice cream!

Hazelnut Praline:

Preheat oven to 180˚C (350˚F) and put hazelnuts on a baking tray. Put a square of baking paper on a dinner plate ready for praline. Bake hazelnuts for 10 minutes until fragrant and colored. Remove from the oven and rub the hazelnuts between a folded tea-towel to remove the bitter skins (as much as possible). Heat the sugar and water together in a medium size, heavy based saucepan. Cook over medium heat without stirring, until the sugar has dissolved and
Chocolate Tart

Chocolate Tart

caramelised, turning a rich golden colour. The amount of time varies but can be more than 5 minutes. Keep an eagle eye on the caramel so that you don’t miss the magical point between golden and rich, and black and bitter. As soon as you have a golden amber liquid tip in the hazelnuts and coat in caramel. Quickly pour onto the baking paper and leave to set. Caution: do not put your fingers any where near the caramel, it is viciously hot! Once praline is cold you can whizz it in a blender or smash it into chunks with the end of a rolling pin – up to you whether you like your praline chunky or fine!

Chocolate to the rescue!

29 May

Hello Glamorites!

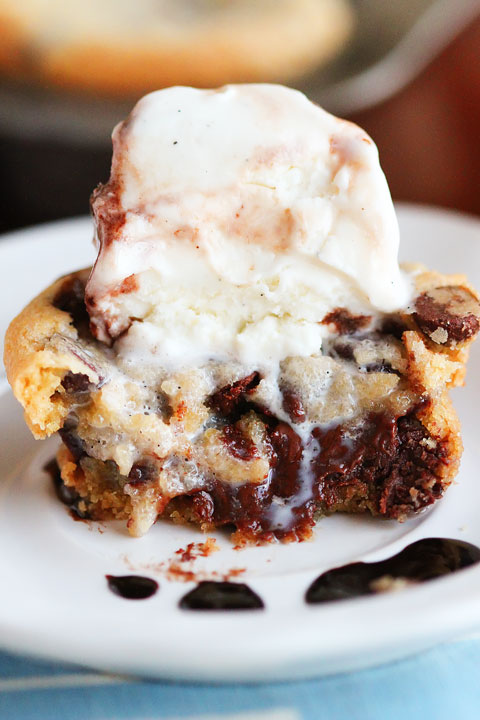
It’s Wednesday hump day so I figured we all need a little something sweet (preferably chocolate) to help give us a little boost to get through the rest of the week! These Chocolate Chip Lava cookies are A-M-A-Z-I-N-G, I tried these a little while ago and they turned out perfectly. They contain all the best desserts in one, cookie, chocolate, melted chocolate and ice cream…can’t get much better than that! Give these a try, courtesy of Kevin & Amanda and I hope they get you through today!
xx Glamour Planner
Chocolate Chip Lava Cookies

Chocolate Chip Lava Cookies